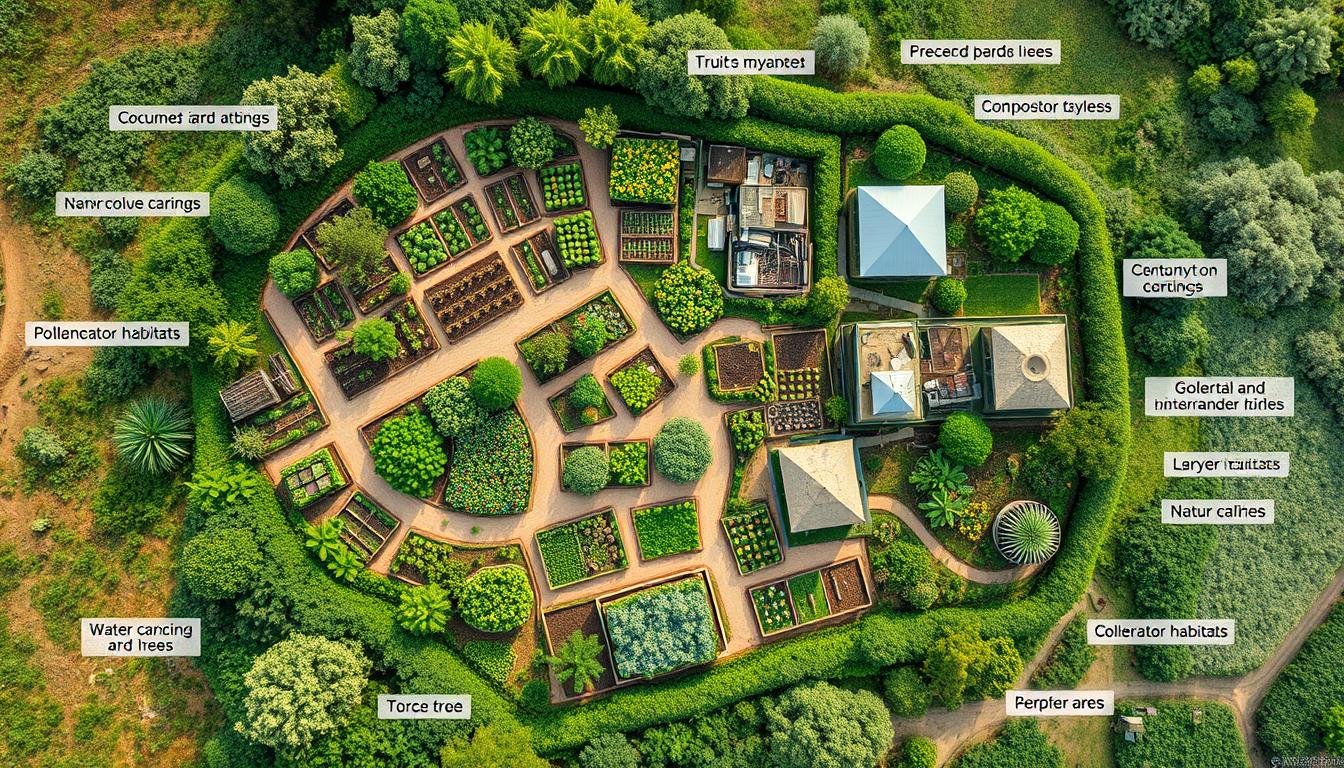
Standing at the edge of this land, I feel a rush of excitement. The breeze smells of wildflowers, and birds sing, showing me what’s possible. I see a chance to create a vibrant, sustainable landscape, using permaculture’s principles.
Permaculture is more than just techniques; it’s a way of life that respects the earth’s natural cycles. It’s a journey of discovery, where we learn to make our ecosystems thrive. We’ll explore how to analyze and design your permaculture site, from start to finish.
Key Takeaways
- Permaculture design is a holistic approach that involves observation, design, implementation, and management phases.
- Site analysis and assessment focus on understanding the land’s energy flows, microclimates, and key features.
- Concept design locates and shapes required areas based on the people and site analysis.
- Detailed design places distinct elements considering the site’s unique characteristics.
- Successful implementation and ongoing management are crucial for a thriving permaculture system.
Understanding the Permaculture Design Process
The permaculture design process uses a structured approach called the VEG design process. It has four main phases: Observation, Design, Implementation, and Management. These stages help ensure projects are well-planned and executed effectively.
The VEG Design Process
The VEG design process is a systematic way to gather information, plan, implement, and maintain permaculture systems. It helps designers tailor solutions to the site’s unique needs and potentials.
The Four Main Phases
- Observation: This phase involves observing the site’s people, land, and resources. Designers collect data on soil, water, microclimates, and existing life.
- Design: Designers use the data to create plans for the permaculture system. They map out gardens, water features, and infrastructure.
- Implementation: The design is then put into action. Elements are installed and integrated on the site. This requires careful coordination.
- Management: Ongoing maintenance and monitoring are crucial. This phase involves adjusting the system, addressing challenges, and optimizing the design.
By following the VEG design process, permaculture practitioners create systems that work with nature. This ensures the design is well-informed, planned, and implemented effectively.
People Analysis and Assessment
At the heart of permaculture design is understanding the people who will use the space. By focusing on people-centered permaculture design, designers make sure the design meets the client’s needs and wants.
Articulating the Design Purpose
The first step is to articulate the design purpose. Designers work with clients to learn what they want, like a “colorful, green, relaxing and private space.” This design purpose statement guides the design and implementation.
Creating a Wishlist
Next, designers work with clients to create a comprehensive wishlist. They identify specific elements, like a berry patch and fruit trees. This ensures the design requirements and desired outcomes are met in the final design.
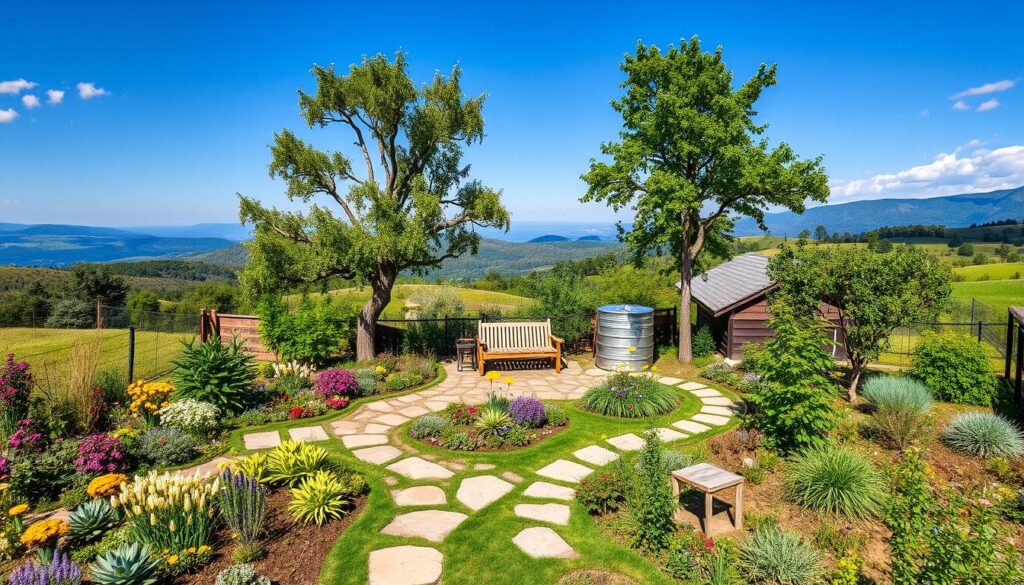
This approach is key to a successful permaculture design. It makes sure the design meets the client’s unique needs and dreams. By focusing on client needs assessment and design purpose statement, designers create a design that truly connects with the users.
Site Analysis and Assessment
After addressing people-related issues, the permaculture designer starts a detailed permaculture site analysis and assessment. They create a detailed basemap of the site. This uses aerial imagery and property boundaries to show the site’s features, like buildings, fences, trees, and water sources.
The designer then carefully analyzes the site’s microclimates and energy flows. They look at patterns related to sun, wind, and water. Understanding these patterns is key to making smart design choices that use the land’s natural potential well.
Basemapping the Site
The basemapping process makes a detailed map with important details like names, date, and location. This map helps the designer understand the site’s physical features and plan effectively.
Analyzing Microclimates and Energy Flows
Sector analysis is a key part of the permaculture site analysis. It maps the site’s wild energies like summer and winter sun, wind, noise, wildlife, and fire. This info is vital for energy-efficient planning and placing elements wisely in the design.
The analysis of flow phase shows how energies like water, traffic, and wildlife move through the landscape. By mapping these energy flows, the designer can find ways to use the site’s natural processes better.
| Site Analysis Element | Description |
|---|---|
| Sun | Understanding sun interactions can enhance yields and energy efficiency, aiding in the strategic placement of crops or solar panels. |
| Shade | Identifying consistently shady areas is essential for planning, as shade can be both advantageous and disadvantageous depending on the design goals. |
| Wind | Recognizing wind patterns helps in placing windbreaks strategically and optimizing building orientations to prevent soil erosion or structural damage. |
| Wildfire | Knowledge of potential wildfire movement enables the creation of firebreaks, selection of fire-resistant plant species, and appropriate placement of structures. |
| Water | Understanding flood tendencies and water flow patterns is crucial for planning buildings, gardens, and essential features on the land effectively. |
Concept Design
After analyzing people and site, the designer starts the concept design phase. This step is crucial. It involves setting up areas like the berry patch, vegetable garden, fruit trees, and utility zones. The designer uses “blobs” or zones to see how these elements fit together.
This design gives a broad outline for the next steps. Most students at the Permaculture Design Course (PDC) design for their own land. But, only about 10% of these plans are fully put into action. Students usually start small, unlike professionals who work under tight deadlines and budgets.
Zoning and Sectoring: Organizing the Permaculture Landscape
In the concept design phase, the designer starts to organize the land. This is done through zoning and sectoring. Zoning means placing elements based on how often they’re used and how much energy they need. Sectoring divides the site into areas based on sun, water, and access.
By thinking about where to put these elements, the designer creates a system that works well. It’s productive, efficient, and looks good. This initial design is the base for the detailed planning that follows.
| Zoning | Sectoring |
|---|---|
| Placement of design elements based on frequency of use and energy requirements | Dividing the site into distinct areas based on sun exposure, water flow, and access |
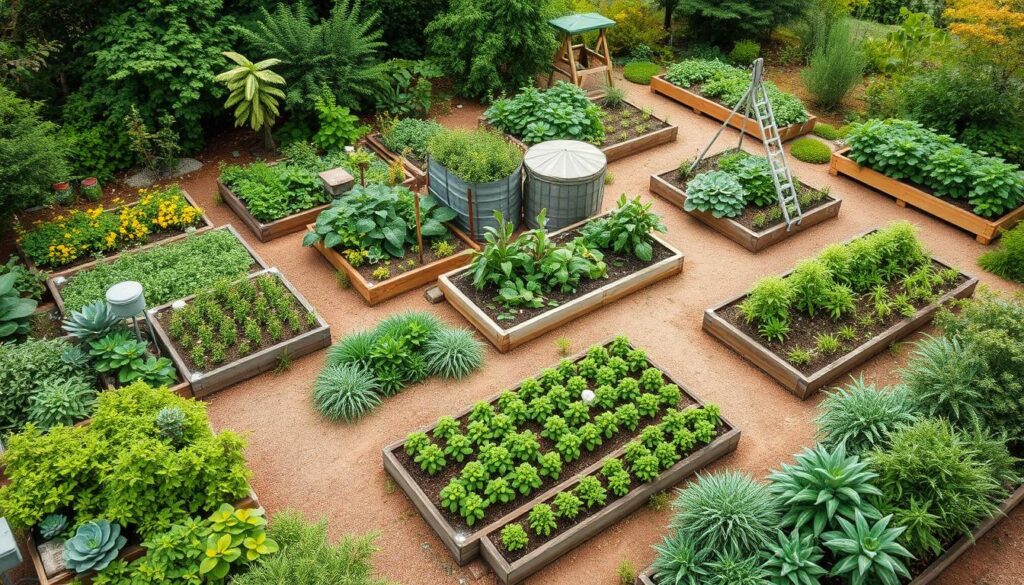
“A concept plan is easier to draw and allows all students to feel competent in their designing, rather than a fully realized detailed plan that might discourage some people from designing again.”
Detailed Design
After getting the client’s feedback, the next step is the detailed design phase. This stage is all about carefully placing each part of the permaculture system. This includes plants, structures, and more, to make a beautiful and efficient landscape.
The designer works hard to use the site’s microclimates well. They plan out access and circulation paths. They also look for ways to connect different parts of the design well.
Incorporating Client Feedback
Working closely with the client is key in this phase. The designer makes sure the design fits what the client wants. They keep tweaking the design based on the client’s feedback.
Placing Distinct Elements
With the client’s input in mind, the designer starts placing the permaculture elements. They think about sunlight exposure, soil conditions, water availability, and wind patterns. This helps them place plants, animals, and structures just right.
By thinking about how these elements work together, the designer creates a strong and productive permaculture design. This design is efficient, reduces waste, and makes the site more sustainable.
“The detailed design phase is where the real magic happens. It’s where we take the broad strokes of the concept design and fine-tune every aspect to create a truly integrated, harmonious permaculture system.”
Implementation Phase
Now that the permaculture design is ready, it’s time to start the implementation phase. This phase often follows a phased approach to manage the project’s scope and resources well. The designer works closely with the client and any helpers to set SMART (Specific, Measurable, Achievable, Relevant, and Time-bound) goals and carry out the design’s elements.
Good project management is key during this stage. The designer builds important features like compost bays, plants fruit trees, and sets up vegetable beds. A team effort ensures success, as everyone contributes their time and effort to make the permaculture vision real.
Being flexible, adaptable, and able to improvise is vital in the implementation phase. It’s important to pace oneself, follow a work schedule, and prioritize tasks to keep the project moving. Getting others involved, especially in manual labor, can share the workload and build a sense of community.
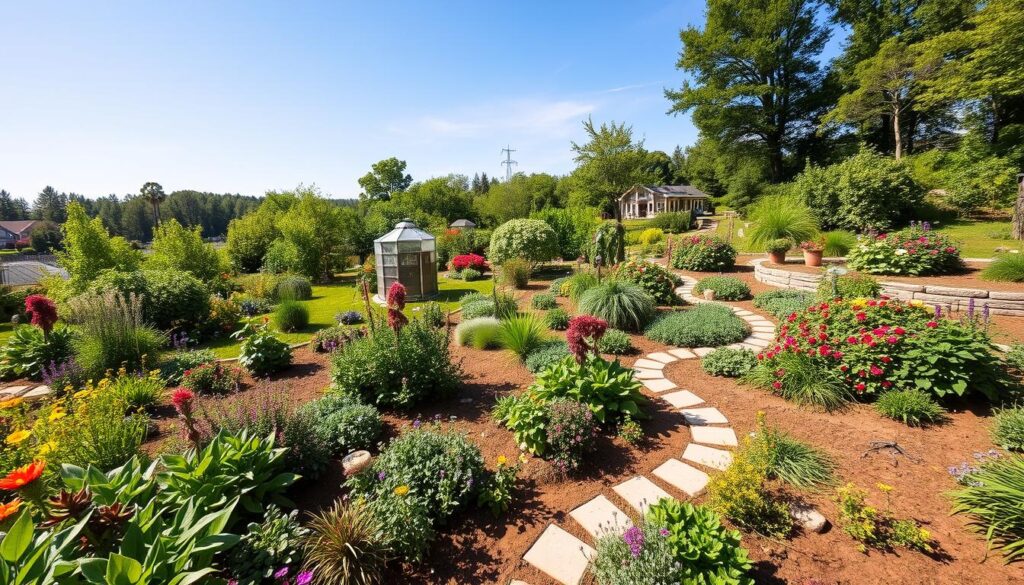
The implementation phase is where the design comes to life. By setting SMART goals and using a phased approach, the designer ensures the project is done efficiently. This leads to a thriving and sustainable environment.
| Zone | Description |
|---|---|
| Zone 1 | Intensive, frequently used areas (kitchen gardens, herb spirals, small animals) |
| Zone 3 | Minimal maintenance, infrequently used areas (pastures, woodlots, wild harvest) |
| Zone 5 | Unmanaged, wilderness areas left for observation and learning |
The implementation phase is a critical part of permaculture project management. It’s where the designer’s vision is brought to life. By working together with the client and helpers, setting SMART goals, and using a phased approach, the designer can ensure a successful permaculture implementation. This leads to a thriving and sustainable environment.
permaculture site analysis
Starting a permaculture journey means understanding the land well. Permaculture site analysis is key. It looks at the land’s features, microclimates, energy flows, and resources. This helps designers use the land’s full potential and create a healthy ecosystem.
The analysis process includes several important steps:
- Environmental Assessment: It checks the soil, water, plants, and animals. It also looks at challenges like waterlogging, wind, or fire risk.
- Ecological Mapping: It maps the site’s energy flows. This includes sunlight, wind, and wildlife movement.
- Land Characteristics Analysis: It examines the site’s shape, microclimates, and existing structures. This helps find opportunities and challenges.
Understanding the site’s unique features helps designers place elements wisely. This approach makes the system efficient, uses less resources, and is resilient. It ensures the design fits the land and supports the project’s goals.
“Permaculture design is not about imposing a preconceived vision on a site, but rather about observing, interacting with, and responding to the land’s inherent patterns and potentials.”
With careful permaculture site analysis, designers can reveal the land’s secrets. This leads to a design that works with nature. It’s a step towards a sustainable ecosystem that will last for many years.
Management and Maintenance
Starting a permaculture design is just the first step. The real work comes in ongoing management and maintenance. This means always monitoring the site, making adjustments as needed, and doing regular tasks like pruning and weeding. By being proactive and adaptable, the designer can keep the land thriving and rich with resources for years.
Seasonal monitoring is key in permaculture management. It’s about watching the site all year, noticing patterns and challenges. This way, the designer can quickly fix problems like pests or water issues, keeping the system strong and productive.
Regular tasks are crucial for a permaculture’s success. These include:
- Pruning and harvesting to keep plants healthy and productive
- Weeding to stop invasive plants from taking over
- Adding nutrients to the soil through composting and mulching
- Fixing any damage to paths, fences, or water systems
By doing these tasks, the designer can keep the system vibrant and full of life. This focus on long-term care is what makes permaculture different from traditional farming, which often focuses on quick gains.
| Permaculture Zone | Maintenance Needs | Frequency |
|---|---|---|
| Zone 1 | Herb and kitchen vegetable gardens | Daily attention |
| Zone 2 | Home orchards, perennial gardens | Observation and maintenance every few days |
| Zone 3 | Main crops that require minimal maintenance once established | Visited once a week or less |
| Zone 4 | Self-sustaining forests, used for timber, wild foods, and occasional animal pasturing | Minimal maintenance |
| Zone 5 | Un-managed wilderness area for recreation and appreciation | No maintenance required |
Knowing the maintenance needs of each zone helps the designer use time and resources wisely. This ensures the system stays healthy and abundant for a long time.
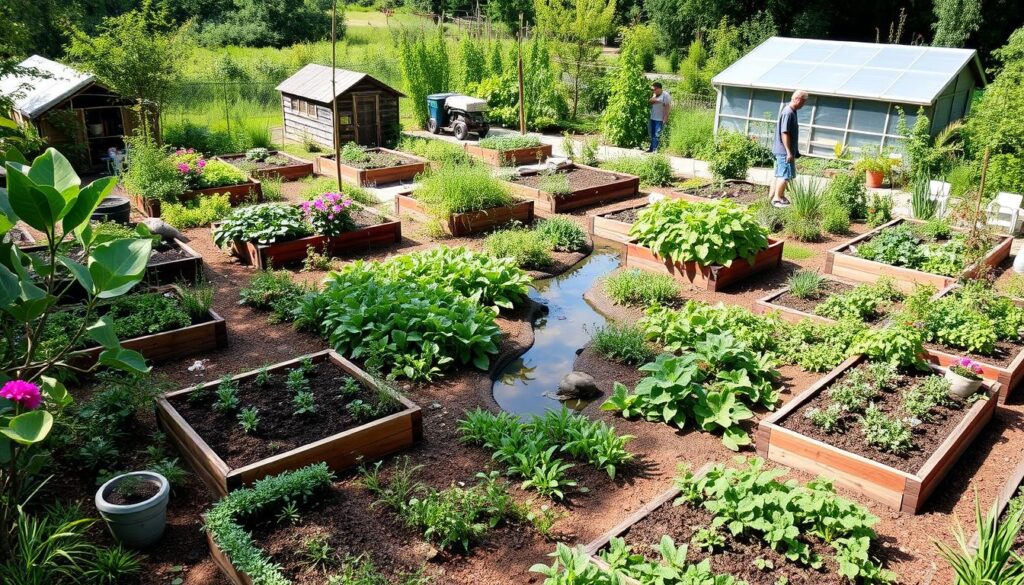
“Permaculture design aims to create low-maintenance agricultural landscapes that are ecologically sound.”
Observation: Key to Design and Decision Making
Permaculture design starts with careful observation. Designers watch the site, its microclimates, and how elements interact. This helps them make smart choices to use the land well.
They keep watching how the system works and tweak it as needed. This makes the ecosystem strong and self-sustaining.
Experts say watching the site for a year is key. Eric Toensmeier learned a lot about sun and shade patterns on his small plot. This changed his design plans.
Observation in permaculture design uses both passive and active methods. Passive observation means being there and using all senses. It’s about really understanding the site without rushing to conclusions.
Active observation is about gathering data and mapping the land. Designers look at directions, landscape, water, animals, and buildings.
| Passive Observation | Active Observation |
|---|---|
| Utilizing all senses to deeply listen and understand the site | Collecting data and mapping the property |
| Refraining from jumping to conclusions | Identifying key elements like cardinal directions, landscape features, water sources, and wildlife |
| Being physically present on the site | Mapping out the existing structures and vegetation |
Observation is the first step in permaculture design. It helps blend design goals with the land’s ecological factors. By observing and interacting with the site, designers make choices that follow permaculture observation, design process, decision making, and site evaluation principles.
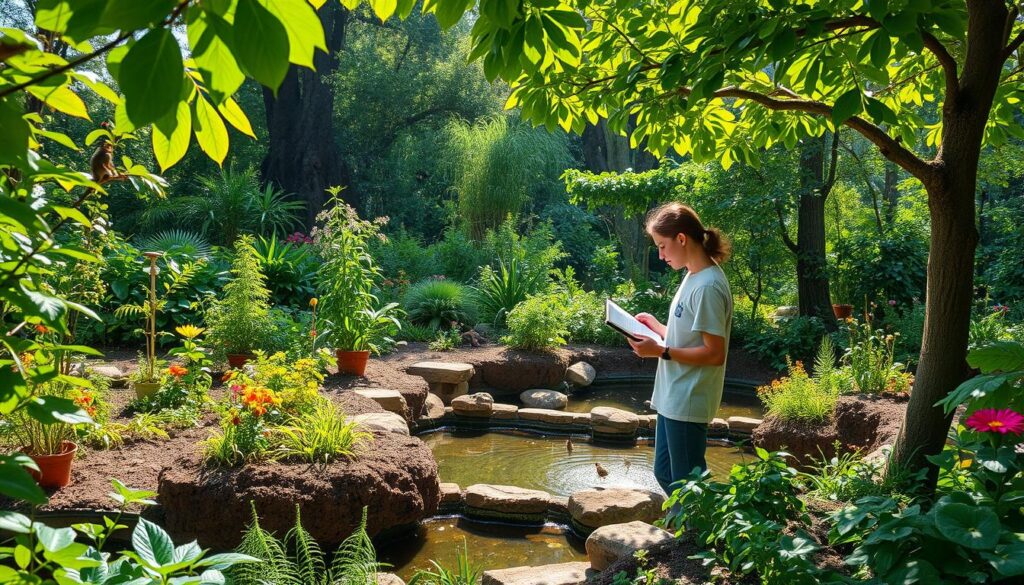
“Careful observation of the site is essential for making informed decisions in the permaculture design process.”
The GoSADIM Design Process
The permaculture design process is a structured yet flexible way to create sustainable systems. The GoSADIM (Goal Articulation, Survey, Analyze, Decisions, Implement, Maintain) method is widely used. It starts with setting clear design goals, whether to solve problems or achieve desired outcomes.
Goal Articulation
The first step is to clearly define the design goals. This might involve solving specific issues or outlining desired outcomes. Setting clear goals is key to guiding the design process and ensuring it meets site and stakeholder needs.
Survey Stage
With goals in mind, the next step is a thorough site survey. This step collects detailed information about the site’s physical features, microclimates, and resources. It also involves gathering input from stakeholders to understand their needs. This data is crucial for a well-informed analysis.
Analysis Stage
In the analysis stage, the designer evaluates the site’s resources and limitations. They use solutions-based thinking to identify ways to work with the site’s natural features. This careful analysis prepares the ground for strategic design decisions.
| Key Aspects of the GoSADIM Process | Description |
|---|---|
| Goal Articulation | Clearly defining the design goals, whether to address problems or achieve desired outcomes. |
| Site Survey | Collecting detailed information about the physical features, microclimates, and stakeholder needs. |
| Analysis | Evaluating the site’s resources, limitations, and opportunities to inform design decisions. |
| Decisions | Making strategic, site-specific design choices based on the data gathered. |
| Implementation | Putting the designed solutions into action on the site. |
| Maintenance | Ongoing observation, monitoring, and adjustments to ensure the system’s long-term sustainability. |
The GoSADIM framework offers a comprehensive approach to permaculture design. It ensures designers understand the site, set clear goals, and analyze solutions. This way, they can create systems that are integrated, resilient, and meet the unique needs of each location and its stakeholders.
Decision Making Phase
The decision-making phase is where the magic happens in permaculture design. Designers use many tools to explore ideas and find the best plan. These tools include zone and sector planning, using digital apps, and working together with others.
Zoning and Sectoring: Optimizing Site Utilization
Zoning and sectoring are key tools in permaculture design. They help organize the site into areas based on use and access. This way, designers can place each element where it works best.
Overlays: Visualizing Interconnections
Using maps and data layers helps designers see how things connect. It lets them find patterns and solve problems. This makes the design more harmonious and strong.
Digital Applications: Streamlining the Design Process
Today, many digital tools help with permaculture design. SketchUp lets designers make 3D models. The Plants for A Future database helps find information on edible plants.
Collaborative Methods: Tapping into Collective Wisdom
Permaculture design benefits from many viewpoints. World Café and Open Space Technology help designers work together. This way, they can make a design that works for everyone.
With these tools, designers can make confident decisions. They ensure their designs are good for the project and for the planet.
Implementation Strategies
Starting a permaculture project needs careful planning and action. The designer sets SMART goals to guide the work. This makes the project easier to manage and keeps it within budget and physical limits.
Working with others, like helpers and community members, helps too. It brings different skills and resources to the table. This teamwork boosts the project’s success and makes everyone feel more involved.
Setting SMART Goals
Starting a permaculture project means setting clear goals. SMART goals help by making sure the objectives are specific, measurable, achievable, relevant, and timely. This way, the designer can track progress and adjust the plan as needed.
- Specific: Clearly define the goals and desired outcomes of the permaculture implementation.
- Measurable: Establish metrics to track progress and evaluate the success of the project.
- Achievable: Ensure that the goals are within the constraints of the project, such as budget, resources, and timelines.
- Relevant: Align the goals with the overall vision and objectives of the permaculture design.
- Time-bound: Set realistic deadlines for the completion of tasks and the achievement of milestones.
Following the SMART framework helps create a solid plan. This sets the stage for a successful and lasting permaculture project.
Conclusion
The permaculture site analysis and design process is a detailed way to make land sustainable and regenerative. It involves observing the site, understanding the needs of those involved, and creating a thoughtful design. This way, permaculture designers can fully use a space’s potential.
After designing, it’s important to implement and maintain the system. This ensures the project keeps growing and providing resources for years. It’s a key step for the project’s success.
This method of land management helps create landscapes that are good for both people and the environment. It works for any size of land, from small urban plots to large rural areas. The permaculture design process offers a way to analyze, implement, and manage land sustainably.
By following permaculture’s principles, we can turn difficult sites into thriving ecosystems. These ecosystems meet the needs of the land and its people. The journey of permaculture design is always evolving, offering chances to learn and create better landscapes for our lives and planet.
