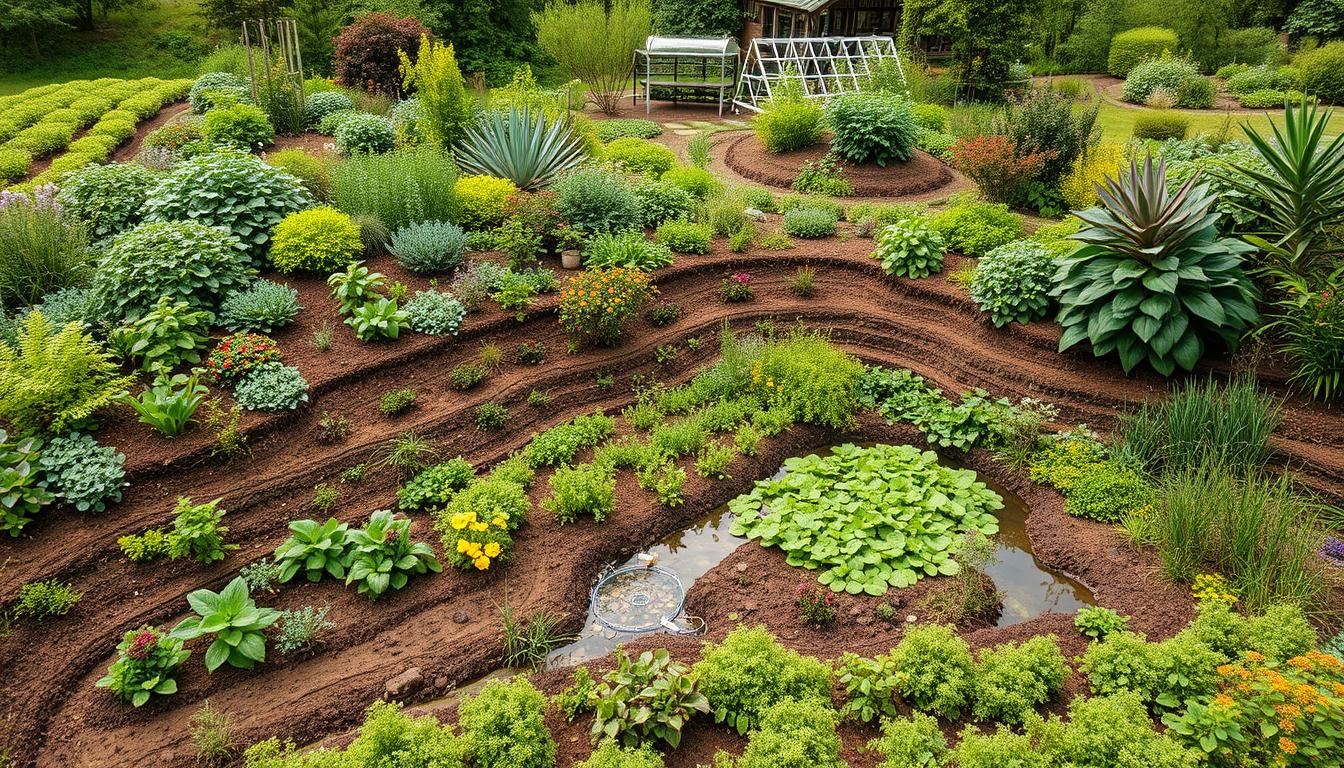
I’ve always thought that knowing your land is key to a great garden. Starting my permaculture journey, I was excited to design. But first, I learned that analyzing my site was crucial. This article will show you how to do a permaculture site analysis. It will help you make your land a thriving, self-sustaining place.
Permaculture is all about managing land in a way that’s good for the planet. By doing a detailed site analysis, designers can really get to know a property. They look at soil, water, climate, and plants to make a design that fits the land perfectly. This way, you can create a landscape that’s good for you and the environment.
Key Takeaways:
- Permaculture site analysis is the foundation for creating a successful, sustainable homestead design.
- Evaluating factors like soil, water, microclimates, and existing vegetation is crucial for understanding a site’s unique characteristics and resources.
- Thorough site analysis helps you make informed decisions and avoid costly mistakes in the design and implementation process.
- Permaculture is a holistic, ecosystemic approach that requires a deep understanding of the land to create a resilient, productive homestead.
- By reading your land, you can unlock its hidden potential and cultivate a thriving, regenerative landscape.
Introduction to Permaculture Site Analysis
Permaculture design is about matching your goals with the land’s unique features. It’s not about forcing a plan but understanding the land’s pattern, opportunities, and limits. A detailed site assessment helps unlock your land’s potential for a sustainable design.
Understanding the Importance of Site Assessment
The main goals of a permaculture site analysis are to collect data, find the land’s strengths and weaknesses, and design a plan. This helps in making smart decisions about land use and resource management. It ensures your permaculture system is sustainable and productive over time.
Objectives of a Permaculture Site Analysis
- Gather detailed information about the physical characteristics of the site
- Identify the site’s natural resources, assets, and limitations
- Understand the site’s microclimate, including sun exposure, wind patterns, and temperature variations
- Assess the soil quality, water sources, and existing vegetation
- Determine the best placement and integration of various permaculture elements
- Create a detailed, customized design plan that aligns with the site’s unique features
Through a detailed site analysis, you can create a permaculture design that harmonizes with the land. This maximizes its natural potential and builds a resilient, self-sustaining ecosystem.
Observing and Mapping Your Site
The first step in permaculture is to make a detailed map of your land. This map should show boundaries, topography, and existing features. It helps you see your land’s layout and find ways to improve it.
Creating a Base Map
When making your map, observe and document your land’s features. Look for water sources, soil types, and wildlife habitats. Knowing your land well is key to a good permaculture design.
Consider these elements for a complete map:
- Property boundaries and dimensions
- Topographical features, such as hills, slopes, and depressions
- Existing structures, including buildings, sheds, and fences
- Vegetation, including trees, shrubs, and groundcover
- Water sources, such as streams, ponds, and wetlands
- Soil types and conditions
- Microclimates, including areas with different sun exposure, wind patterns, and temperature variations
- Wildlife habitats and movement patterns
- Unique or valuable natural features, such as rock formations or heritage trees
By mapping these elements, you’ll understand your land better. This helps you integrate permaculture principles into your design.
Identifying Existing Features and Resources
Document your site’s features carefully. This helps you understand how different parts of your land work together. It’s important for your permaculture design.
For example, study water sources and vegetation. Look at their volume, flow, and quality. Also, consider their growth patterns and uses. This detailed information makes your design stronger and more informed.
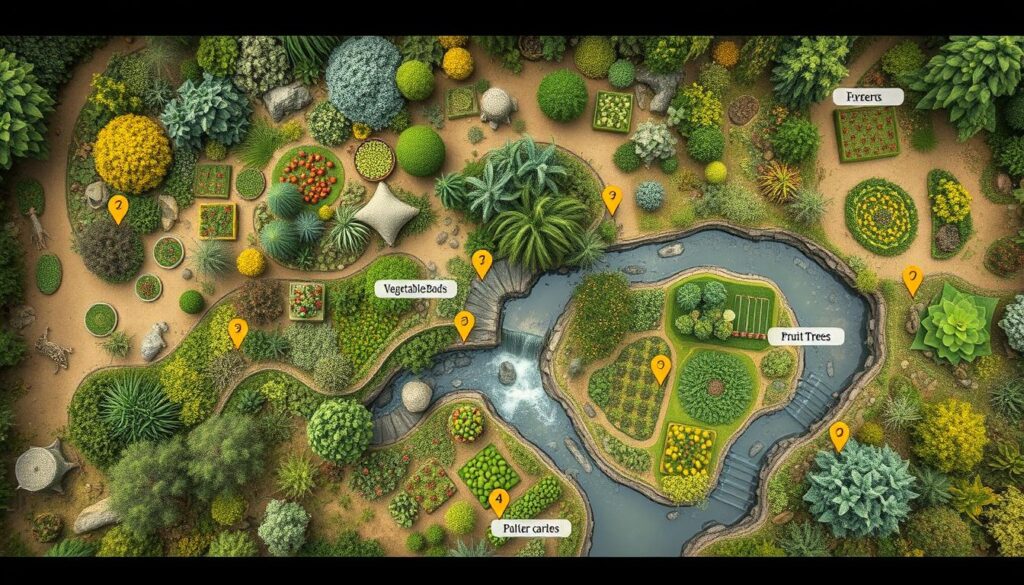
Remember, the best permaculture design takes a year to observe your site. Spend time observing in all seasons and weather. This way, you’ll understand your land deeply and design a system that fits with it.
Evaluating Soil Conditions
Healthy soil is key to a thriving permaculture system. A thorough soil test is essential. It helps determine the soil’s composition, pH, nutrient levels, and quality. This info guides your choices on soil amendments, erosion control, and plant selection.
Soil Testing and Analysis
Assessing your permaculture site’s soil involves several steps:
- Collect soil samples from different areas of your site, covering various conditions and potential problem spots.
- Send these samples to a reputable lab for a detailed analysis. This includes soil texture, pH, nutrient levels, and organic matter content.
- Carefully review the test results, noting any imbalances or deficiencies that need fixing.
- Use the soil analysis to plan how to improve soil health. This might include adding organic matter, amendments, or other techniques.
- Put your soil improvement plan into action. Monitor the changes over time to ensure your permaculture system’s long-term success.
Healthy, well-balanced soil is crucial for your permaculture design’s success. Understanding your site’s soil characteristics helps you make informed decisions. These decisions support a diverse range of plants and enhance your permaculture ecosystem’s resilience.
| Soil Characteristic | Ideal Range | Potential Implications |
|---|---|---|
| Soil pH | 6.0 – 7.0 | Impacts nutrient availability and plant growth |
| Organic Matter | 3% – 5% | Improves soil structure, water-holding capacity, and nutrient cycling |
| Nitrogen (N) | Balanced with other nutrients | Supports green, leafy growth |
| Phosphorus (P) | Balanced with other nutrients | Essential for root development and flowering |
| Potassium (K) | Balanced with other nutrients | Enhances disease resistance and overall plant vigor |
By understanding your soil’s characteristics and making targeted improvements, you can create a thriving permaculture system. This system supports a diverse range of plant life and ecosystem functions.
Assessing Water Resources
Water is key in any permaculture design. Start by mapping all water sources on your land, like streams, ponds, springs, and groundwater. Also, look at how water flows and where it might flood or erode. Knowing this helps you manage water well.
Identifying Water Sources and Drainage Patterns
By mapping natural areas, you can plan better for water use. This includes irrigation and managing storm water. Watershed analysis works for any size of land, from small lots to big rivers. You’ll use GIS and fieldwork to collect data on slopes and topography.
- Find all surface water sources, like streams, ponds, and springs, on your land.
- Watch how water moves during rain to understand drainage.
- Find low spots that might flood or get waterlogged.
- Look for signs of erosion or soil loss from water runoff.
| Water Conservation Strategies | Benefits |
|---|---|
| Storing water in the soil and diverting surface water to dams/ponds and tanks for later use | Ensures water availability during dry periods and reduces erosion |
| Techniques such as slow, spread, and sink water to capture water in the soil | Helps retain water in the soil for plant growth and groundwater recharge |
| Keyline design and contour mapping for water flow management and planning | Optimizes water distribution and reduces the risk of erosion |
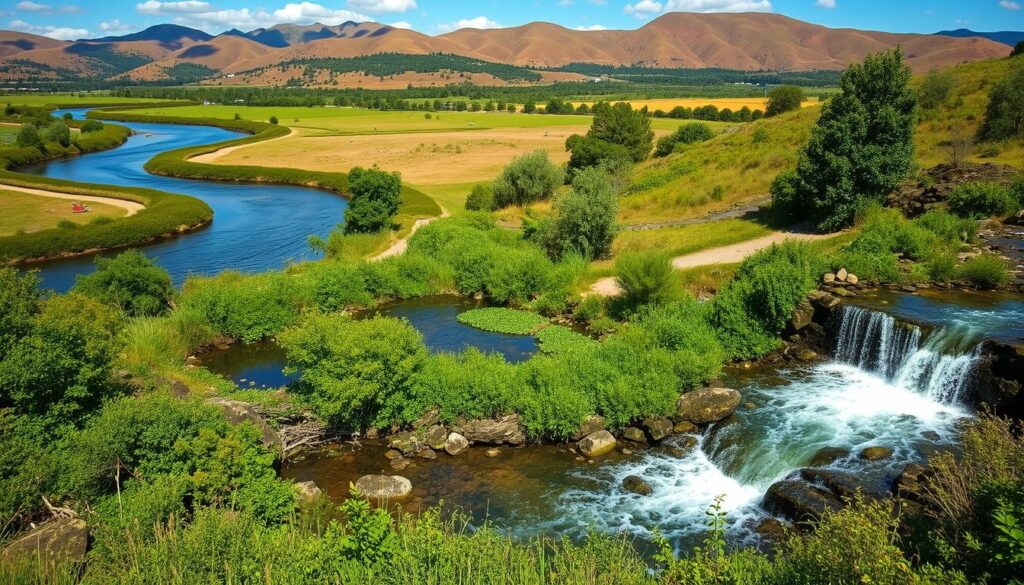
Understanding your site’s water resources and dynamics is crucial. It helps you manage water effectively. This ensures your permaculture design is sustainable for the long term.
Studying Microclimates and Sun Exposure
Every site has its own microclimates. These are small areas with different temperatures, winds, and moisture levels. It’s important to study these microclimates and sun patterns to choose the right plants and place structures wisely.
Knowing your land’s microclimate is key to a successful permaculture garden. For example, north-facing slopes in the northern hemisphere get less sun. This makes them cooler and moister. On the other hand, south-facing slopes are warmer and drier. Using this info can make your garden more efficient and save you work.
| Microclimate Characteristic | North-Facing Slopes | South-Facing Slopes |
|---|---|---|
| Sunlight | Less direct sunlight | More direct sunlight |
| Temperature | Cooler | Warmer |
| Moisture | Moister | Drier |
By mapping the sun’s path, you can place things like structures and plants to get the best growing conditions. For instance, the Three Sisters guild works well in sunny spots. It includes corn, beans, and squash.
Also, using rainwater harvesting, swales, and mulching helps manage water. This creates better conditions for your plants. By understanding your land’s microclimates, you can create a strong, lasting permaculture system.
permaculture land analysis
When you do a detailed permaculture site analysis, it’s key to observe and document the microclimates on your land. Microclimates are small areas with different temperatures, winds, and moisture levels. Things like sun exposure, sheltered spots, and soil moisture greatly affect your design’s success.
Start by examining your property’s different areas closely. Look at the sun exposure, wind, and soil moisture in each spot. Knowing these details helps you place elements like raised beds and greenhouses for the best results.
Determining Sun Exposure and Shading
The sun’s patterns and shading on your land are crucial for choosing plants and structures. Map the sun’s path throughout the day and year. Note where it’s full sun, partial shade, or full shade. This helps you design a permaculture that uses the sun well and deals with shading.
| Sun Exposure | Ideal Plant Types | Potential Structures |
|---|---|---|
| Full Sun | Sun-loving vegetables, herbs, and flowering plants | Solar panels, greenhouses, and drying racks |
| Partial Shade | Leafy greens, root vegetables, and shade-tolerant plants | Shade structures, cool-season crop beds |
| Full Shade | Mushrooms, ferns, and other shade-loving species | Shade-focused productive areas, forest gardens |
By studying and mapping your land’s microclimates and sun patterns, you can design a permaculture that uses your land’s full potential. This sets your project up for lasting success.

Identifying Existing Vegetation and Wildlife
The plants on your land can tell you a lot about the soil and moisture. Look at the different plants and note any special ones. This helps you choose the right plants for your permaculture design.
Understanding Plant Communities
Look closely at the plants on your land. Group them by what they like and how they grow. The main plants and any rare ones can show you about the soil and moisture.
- See how many different plants there are and where they are.
- Find the pioneer plants, which show if the soil is good and how it’s changing.
- Watch out for weeds that shouldn’t be there, as they can mean the ecosystem is off balance.
Observing Wildlife Patterns
Wildlife is key to a healthy ecosystem. Watch the animals, like birds, insects, and big mammals, on your land. Knowing what animals are there helps you design better habitats and support biodiversity.
- Look for animal signs like tracks, burrows, nests, and droppings.
- Identify the main animals that visit your land.
- See how animals interact with plants and the landscape.
Understanding your land’s plants and animals helps you manage it better. This way, you can create a thriving permaculture ecosystem.
| Element | Needs | Situation on the Ground | Potentials/Obstacles |
|---|---|---|---|
| Vegetation |
|
|
|
| Wildlife |
|
|
|
By observing and documenting your land’s plants and animals, you’ll get insights for your permaculture design. This will help you create a balanced and thriving ecosystem.
Zoning and Sector Planning
Permaculture design uses a zoning system to arrange elements based on use and maintenance needs. By dividing your land into zones, you can place elements wisely. This ensures resources and energy flow well in your permaculture system.
Establishing Zones for Different Activities
Permaculture designers often define up to five zones on a site. Smaller sites might have only two or three zones. Zones are arranged in order, with higher numbers for less visited areas.
- Zone 0: Represents the home or center of operations.
- Zone 1: Includes elements visited most days, such as kitchen gardens, outdoor living areas, rainwater harvesting systems, and composting systems.
- Zone 2: Requires attention but is visited less frequently, hosting orchards, forest gardens, perennial vegetable beds, and animals like chickens or bees.
- Zone 3: Designated for farmland, arable crops, and larger livestock on bigger sites.
- Zone 4: Allocated for natural forage and minimal intervention areas, like woodland for fuel or non-timber forest products.
- Zone 5: The wild zone for wildlife, remaining mostly untouched by humans.
By planning and positioning these zones, you can improve resource flow and reduce energy use. This creates a harmonious, productive permaculture system.
“Sector analysis is a method used in permaculture design to evaluate the influences and resources that come from various sectors surrounding a site.”
Permaculture also uses sector analysis to understand site influences like water, wind, sunlight, and human impacts. Knowing these sectors helps in placing elements wisely in your design.
Mapping Natural Resources and Features
When you start your permaculture site analysis, it’s key to map and assess your property’s natural resources and features. Your land probably has many renewable resources like solar energy, wind, and biomass. These can be used to make energy, provide materials, and help your system be more sustainable.
Identifying Renewable Resources
First, look at your site’s renewable energy potential. Measure how much sunlight your land gets during the day and year. This will help you know if solar power is a good option. Also, check the wind patterns to find the best spots for wind turbines.
Look for biomass resources like wood, farm waste, or animal manure. These can be turned into biofuel or used in other ways.
Locating Unique Features and Opportunities
Every property has its own special features and opportunities for permaculture design. As you study your land, watch for natural springs, rock formations, and mature trees. These can be important parts of your design, helping with climate and serving as design elements.
| Renewable Resource | Potential Applications | Estimated Capacity |
|---|---|---|
| Solar Energy | Photovoltaic panels, solar thermal systems | 5 kW |
| Wind Energy | Small-scale wind turbines | 2 kW |
| Biomass | Biofuel production, compost, mulch | 1 ton per year |
“Carefully mapping and assessing the natural resources on your property is a crucial step in creating a truly sustainable permaculture design.”
Creating a Permaculture Design Plan
Now that you know your site well, you can start designing a permaculture plan. This plan will use all the insights from your site analysis. It will make sure your design fits well with the land and boosts your system’s productivity and sustainability.
Integrating Site Analysis Findings
The last step is to create a design that matches your property’s unique features. You’ll arrange elements like gardens, orchards, and renewable energy sources. This will help create a balanced and strong ecosystem.
| Design Consideration | Permaculture Approach |
|---|---|
| Water | Focus on techniques like water storage, contour-based irrigation, and sinking water into soil to slow, spread, and sink water. |
| Access | Utilize contour lines and integrate access with water flows for efficient movement around the site. |
| Structures | Place buildings in relation to water and access design, with a focus on efficient planning for future needs. |
Developing a Sustainable Design Strategy
Designing a permaculture site means creating six key maps. These maps help make a design that needs little maintenance. They include the base map, sun map, sector map, zone map, master plan, and water map. By thinking about each element, you can make a strong and lasting permaculture design that matches your site’s unique features.
“Permaculture is a system for designing agricultural landscapes that are ecologically sound.”
Implementing and Maintaining Your Permaculture Design
After you’ve made your permaculture design plan, it’s time to start putting it into action. This means getting the soil ready, managing water, planting, and adding design elements.
Establishing Systems and Processes
To start your permaculture design, you need a solid plan. Begin by getting the soil right, which might mean adding organic stuff, fixing drainage, or changing the pH. Next, figure out how to handle water, like using rainwater or making ponds.
Then, pick and place your plants carefully. Think about how they’ll work together and fit into your design.
Monitoring and Adapting Your Design
Permaculture is a journey that never ends. You must keep watching and adjusting your design. Check how everything is working together and make changes as needed.
This might mean moving plants, tweaking water systems, or adding new things to make your design better and stronger.
| Key Permaculture Design Steps | Description |
|---|---|
| Soil Preparation | Improving soil quality, structure, and nutrient content to support plant growth and ecosystem health. |
| Water Management | Implementing strategies to capture, store, and distribute water effectively, such as rainwater harvesting, swales, and ponds. |
| Planting and Integration | Carefully selecting and arranging plants to create mutually beneficial relationships and a productive, diverse system. |
| Monitoring and Adaptation | Continuously observing the system, evaluating its performance, and making necessary adjustments to maintain long-term sustainability. |
“Permaculture is not just about gardening or farming – it’s a way of life that can be applied to all aspects of our existence.”
Conclusion
Starting with a detailed permaculture site analysis is key to a successful, sustainable design. It aligns with your land’s unique features. By observing, mapping, and evaluating your property, you unlock its full potential. This leads to a customized plan that boosts your permaculture system’s health and productivity over time.
Research highlights permaculture’s benefits. Sites show higher soil organic carbon, nutrient levels, and biodiversity than traditional farms. Studies also point out the limitations of edible forest gardens in temperate climates. A balanced approach, combining different permaculture methods, might be more effective.
Permaculture is a strong, regenerative way to manage land, especially with climate change. By understanding and working with your site’s natural systems, you can build a thriving ecosystem. This ecosystem not only produces plenty of food but also improves your local environment’s health and biodiversity. Deep observation and analysis are the first steps to this journey. They empower you to design a permaculture system that fits your land and community perfectly.
