Standing in my overgrown backyard, I felt overwhelmed. I had a notebook full of ideas but didn’t know where to start. My mentor’s words echoed in my mind: “The key to a successful permaculture design lies in the maps you create.”
Creating a permaculture design map is like solving a puzzle. By drawing six key maps, you can design a space that works hard for you. Permaculture site design starts with observing the landscape. These maps help you visualize the data that shapes your design, allowing you to plan before you act.
Key Takeaways
- Permaculture design involves a multi-step process, starting with observing the landscape.
- Drawing six essential maps can help you create a low-maintenance, high-productivity permaculture design.
- The base map, sun map, sector map, zone map, master plan, and water map are the six key components of a permaculture design.
- Precision is crucial when creating these maps, as small details on the map can represent significant elements on the ground.
- Digital tools can greatly facilitate the process of creating multi-layered permaculture designs.
Introduction to Permaculture Design Mapping
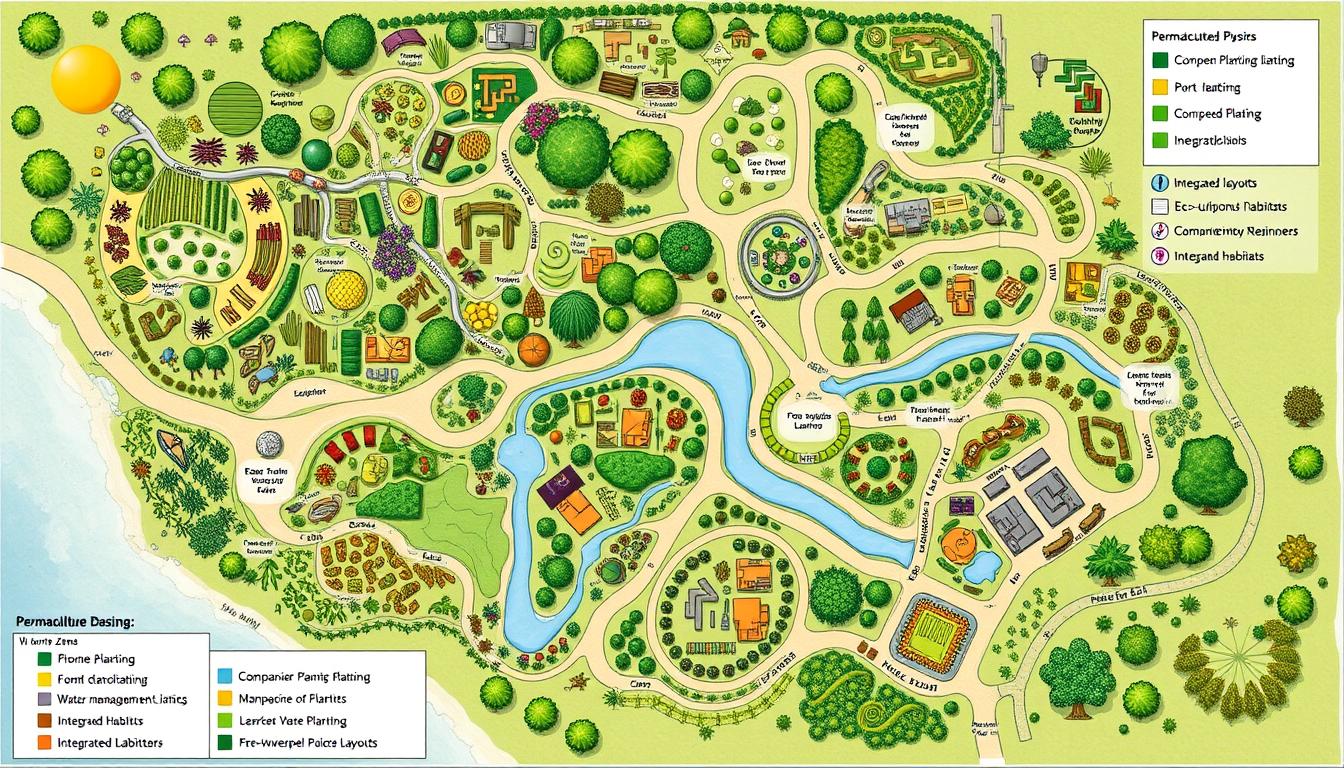
Permaculture design mapping is about making a visual plan for a site. It shows the site’s features and how to use them sustainably. A permaculture design map is key for planning a permaculture landscape. It helps see the site’s details, find good spots, and plan how to use them.
What is a Permaculture Design Map?
A permaculture design map is a detailed diagram of a site. It shows the site’s shape, water sources, buildings, and plants. It also marks where to put gardens, orchards, and other permaculture parts. This map is like a blueprint for a self-sustaining permaculture area.
Why Create a Permaculture Design Map?
Making a permaculture design map is a key step. It lets you study your site, find important features, and plan how to use them well. The map helps you try out different designs and make smart choices before starting your permaculture project.
Some big benefits of making a permaculture design map include:
- Understanding your site’s features, like terrain and soil
- Finding good spots for sustainable use
- Planning where to put permaculture parts
- Seeing how different parts work together
- Trying out designs and making choices
- Sharing your plan with others
By spending time on a detailed permaculture design map, you make sure your system works well. It will be strong, productive, and fit your site perfectly.
The Six Essential Permaculture Design Maps
To create a good permaculture design, you need six key maps. These permaculture design maps help you understand your site’s features and challenges. They guide you to make the most of your space, support nature, and keep things balanced.
The six essential permaculture design maps are:
- Base Map: This map shows the basics of your site, like the land shape, buildings, and natural spots.
- Sun Map: It looks at where the sun is and moves, helping you place things right for the most sunlight.
- Sector Map: This map shows how outside factors like wind and water affect your site. It helps you plan better.
- Zone Map: It divides your site into areas based on how much people use them. This helps manage resources well.
- Master Plan: This plan combines all the maps into one, making a complete design that meets your permaculture goals.
- Water Map: It focuses on water, showing where it comes from, where it goes, and how to use it wisely.
By making these six permaculture design maps carefully, you can create a design that works well with your site. It uses resources smartly and helps your ecosystem thrive.
| Map | Purpose |
|---|---|
| Base Map | Captures the fundamental details of the site, including topography, existing structures, and natural features. |
| Sun Map | Analyzes the sun’s position and movement throughout the year, informing the placement of structures, gardens, and other elements. |
| Sector Map | Identifies external influences on the site, such as wind, water flow, and access points, to strategically position and orient the design. |
| Zone Map | Organizes the site into different areas based on the frequency and intensity of human activity, ensuring efficient resource management and optimal placement of elements. |
| Master Plan | Integrates all the previous maps, creating a comprehensive and cohesive design that aligns with the permaculture goals. |
| Water Map | Focuses on the management and distribution of water resources, identifying sources, catchment areas, and drainage patterns to maximize water efficiency and minimize waste. |
Using these permaculture planning tools, designers can build a sustainable ecosystem. It follows permaculture’s principles and makes the most of the site.
Preparing for Permaculture Design Mapping
Collecting Site Maps and Resources
Before starting your permaculture design maps, it’s key to gather all the needed info. You’ll need to collect existing maps, like contour maps, aerial photographs, and property details. These maps can be found at local government offices, conservation districts, or online on Google Maps. They are the starting point for your permaculture design.
It’s important to know where to find permaculture site data collection and permaculture design research tools. By getting these sources for permaculture site maps, you can do a detailed site analysis for permaculture. This sets the stage for a successful permaculture design.
| Mapping Resource | Source |
|---|---|
| Contour Maps | Local government agencies, conservation districts |
| Aerial Photographs | Online sources (e.g., Google Maps) |
| Property Surveys | Local government agencies, conservation districts |
By carefully collecting and studying these permaculture site data collection resources, you’re on the right path. You’ll create a detailed permaculture design research that will be the base of your permaculture project.
The Base Map
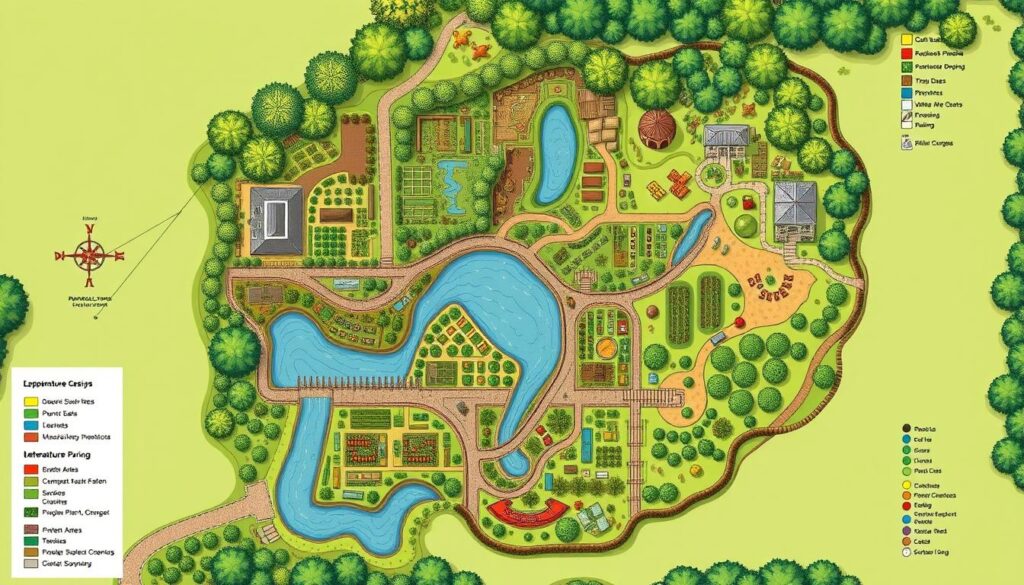
Starting your permaculture journey begins with the base map. It’s like a blueprint of your site’s permanent features and boundaries. This map is where you’ll add other important permaculture maps. It helps you plan how to mix different elements into a complete design.
Drawing the Base Map
To make your permaculture base map, draw the outline of your property. Include structures, driveways, pathways, and other things that won’t move. Use a scale of 1:50 for easy measurements and calculations.
One simple way to do this is by using trilateration. You’ll need a tape measure, sketch pad, pencils, and a compass. Or, you can trace an aerial photo at scale. For a digital option, use software from a satellite image or aerial photo.
Make sure to include all fixed objects like trees, garden corners, and ponds on your map. This detail is key for your site layout, site design, site analysis, and site mapping.
After finishing your base map, make extra copies for different designs. You can trace on a window, photocopy, or scan and print at a shop. This way, you can try out different ideas.
“The base map is the starting point for your permaculture design, serving as a visual representation of the permanent features and boundaries of your site.”
The Sun Map
In permaculture, the sun map is key for planning where to grow food and other sun-dependent things. It shows where the sun hits your site, helping you find the best spots for gardens and fruit trees. This helps your plants get the sunlight they need.
Plants need sunlight to grow, and some need more than others. For example, fruit trees need lots of sunlight, while leafy greens can do with less. Knowing your site’s sun patterns helps your garden grow better.
To make a sun map, watch the sun’s path all year. You can use apps or online tools to help. Apps like Sun Surveyor and Sun Seeker use your phone’s GPS. Online tools like SunCalc show the sun’s path at your location.
| Sun Exposure | Recommended Plantings |
|---|---|
| Full Sun (6+ hours) | Fruiting plants, herbs, vegetables |
| Partial Sun (4-6 hours) | Leafy greens, root vegetables |
| Full Shade (less than 4 hours) | Shade-tolerant plants, mushrooms |
By mapping your site’s sun patterns, you can place your permaculture elements wisely. This approach boosts food production and makes your design more efficient.
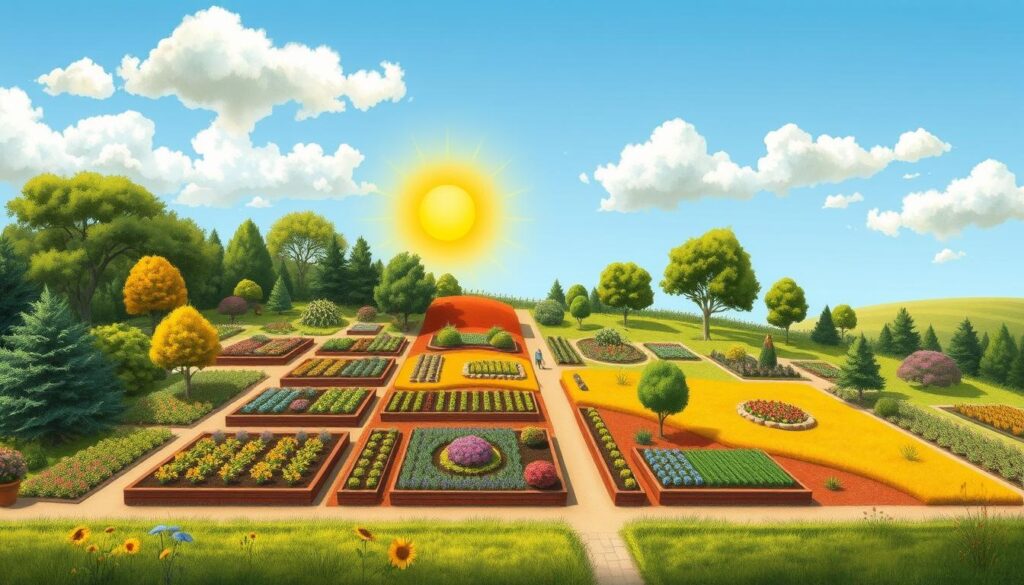
Sun mapping is not just for gardens. It’s also for solar panels, animal shelters, and comfy living spaces. Using your sun map, you can create a self-sustaining ecosystem that uses the sun’s power well.
The Sector Map
In permaculture design, the sector map is key. It helps identify and map external elements you can’t control. These include wind, noise, wildlife, and water flow, all affecting your design’s success. By mapping these sectors, you can plan to improve or redirect their effects to meet your permaculture goals.
Identifying and Mapping Sectors
Creating a permaculture sector map starts with site analysis. You gather data on factors like sun, wind, water, wildlife, fire, and neighbors. This data helps shape your design.
- Sun exposure and patterns throughout the year
- Wind direction and intensity
- Flood risks and water flow
- Wildlife corridors and potential pest infestations
- Fire hazards and security concerns
- Neighboring influences, such as noise or pollution
By mapping these sectors, you can place design elements wisely. This way, you can use positive influences and reduce negative ones. This makes your permaculture system strong and self-sustaining, working well with its environment.
| Sector | Potential Impacts | Design Strategies |
|---|---|---|
| Sun | Affects plant growth, energy generation, and passive solar heating | Positioning buildings, gardens, and renewable energy systems to maximize sun exposure |
| Wind | Can damage structures, influence plant growth, and provide renewable energy potential | Designing windbreaks, wind turbines, and structures to harness or mitigate wind effects |
| Water | Flooding, erosion, and water availability can impact the entire system | Implementing water harvesting, storage, and distribution systems to manage water flows |
| Wildlife | Pests, predators, and beneficial species can influence plant and animal populations | Creating wildlife-friendly habitats, fencing, and deterrents to protect crops and livestock |
| Fire | Wildfire risk can threaten structures and plantings | Designing firebreaks, using fire-resistant materials, and incorporating fire-tolerant species |
Understanding and mapping these sectors is key to a good permaculture design. It helps your design fit well with the environment, using resources wisely and reducing harm. This approach is essential for a sustainable and resilient permaculture system.
The Zone Map
The permaculture zoning map is key for organizing your permaculture design. It divides your site into zones based on how often you visit and manage each area. This way, you can place elements wisely, making sure resources and labor are used well.
The five permaculture zones are as follows:
- Zone 0 and/or 00: This is the heart of your permaculture project, where you spend most of your time.
- Zones 1-2: These zones need daily or almost daily visits. They include your home and work areas that need regular care.
- Zone 3: This zone gets less attention but is still important. It requires less upkeep but is a key part of your system.
- Zone 4: This zone is for seasonal use. It’s for activities that don’t need to be done often, like shared spaces.
- Zone 5 and beyond: These areas are for wild spaces. They help with planting native seeds and observing nature.
In urban permaculture, these zones are even more crucial. They help cities become more sustainable by improving nutrition, reducing waste, and supporting biodiversity.
| Zone | Description | Frequency of Visits | Example Elements |
|---|---|---|---|
| Zone 0/00 | The heart of the permaculture project | All-day-every-day | Designer’s living and working spaces |
| Zones 1-2 | Frequent maintenance and steady outputs | Every day or every other day | Home gardens, work spaces, personal areas |
| Zone 3 | Lower maintenance needs, still central | Infrequent visits | Orchards, pastures, ponds |
| Zone 4 | Seasonal use, niche purposes | Rarely visited | Woodlots, shared community spaces |
| Zone 5 | Minimally maintained wild areas | Infrequent visits | Native plantings, educational areas |
By using permaculture zoning principles, you can design a permaculture system that’s efficient and sustainable. This leads to a thriving permaculture land use planning system.
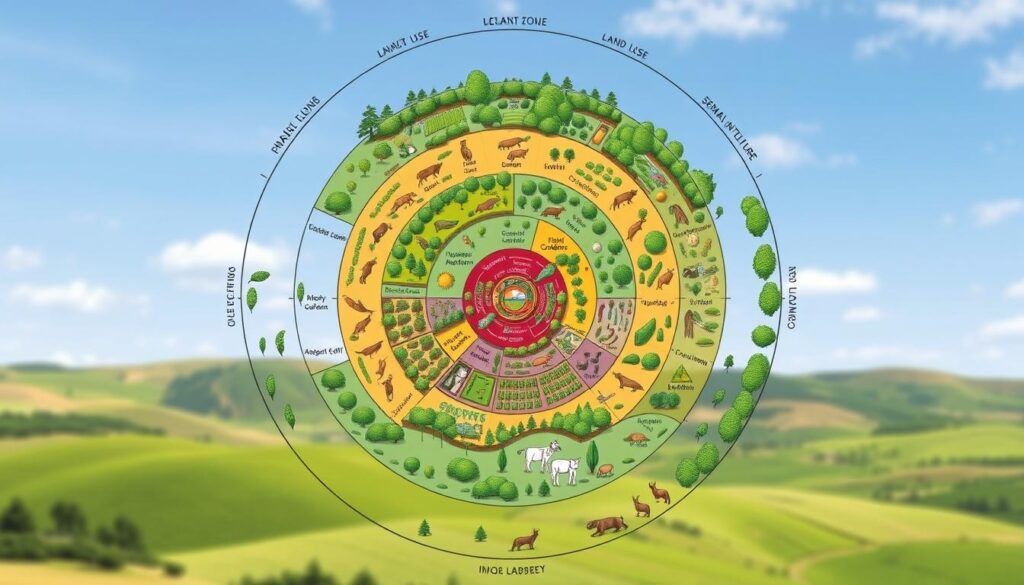
“Permaculture zoning encourages creative planning around the house as the core, translating to unique property layouts based on individual needs and land characteristics.”
The Master Plan
The permaculture master plan is the final step in the design process. It combines all the information from previous maps into a detailed site layout. This plan shows where all permaculture elements will go, like gardens, orchards, and natural areas.
The permaculture master plan gives a clear guide for putting the design into action. It ensures the landscape will be sustainable, productive, and well-functioning.
The permaculture design integration starts with a design charrette. This meeting brings together the client and designers. It helps to merge everyone’s ideas and needs into a single design.
This design is a concept map that will guide the next steps. It’s the blueprint for the permaculture system design.
The permaculture implementation phase is all about making the plan real. Architects and engineers create construction drawings, budgets, and timelines. Permaculture Project LLC and Bio-Culture work together to make the permaculture site layout a reality.
Crews from across the United States work together on this phase. They test different methods to see what works best for the site. They also make any needed adjustments to the design.
